
Vancouver Whitecaps v Houston Dynamo – The First Round Bye Clinching Story In Pictures
I’ll be honest. After the first 15 minutes of the match, the thought did cross my mind that this might not be Vancouver Whitecaps day. At half time, still scoreless and with the ‘Caps down to fifth, it was nervy times.
But I should never have doubted the spirit of this team, who came storming in the second half with three goals from Kekuta Manneh, Kendall Waston and Robert Earnshaw to clinch second place in the Western Conference and third in MLS overall.
AFTN photographer Tom Ewasiuk was there to capture all the action before, during and after the game and here’s his “Story In Pictures”, with a full Flickr slideshow at the end.
[Also check out Tom’s website www.residualimagephotography.com for more of his photos and work].

The ‘Caps come out

The history making starting XI

Scarves up for the ‘Caps

Octavio Rivero forces a fantastic save out of Joe Willis just three minutes

Then Cristian Techera is thwarted as the ‘Caps push

At the other end, Houston want a penalty called on a perceived Russell Teibert handball

Then Giles Barnes forces a save out of David Ousted with a low drive

Half time thoughts from the management team

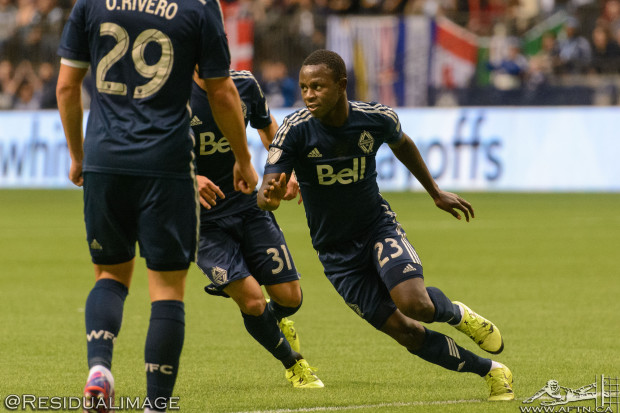
But the breakthrough finally comes in the 59th minute from a Kekuta Manneh strike

Gooooooooaaaaaaaaallllllll

Manneh of the moment

Let the celebrations begin, but there’s still work to be done

Kendall Waston rises to head home the killer 72nd minute assurance goal

And boy is he happy!

And so is the rest of the squad

No words required!

As the ‘Caps look for a third, Kekuta Manneh is brought down as he heads for goal

But to his amazement, no foul is called

Instead, referee Kevin Stott books Manneh

And the Gambian’s certainly not happy about it

Soon subbed off, Carl Robinson consoles his winger

With the game deep into stoppage time, Mauro Rosales sends a perfect cross onto the head of Robert Earnshaw

And within seconds of coming on, the Welshman makes it 3-0

Then he’s off to do his famous flip celebration

It’s over and the fans celebrate second in the West

The Ousted family

Robert Earnshaw does the postgame Humba with Curva Collective
You can see a Flickr slideshow of all of Tom’s photos from the game below:
 Previous Article
 Next Article