
WFC2 v Swope Park Rangers – The Story In Pictures
Always stay to the end. That’s always been our motto at the football. Even if you’re watching your team getting drubbed by seven goals by your fierce local rivals. With WFC2 this season, staying to the end has become a necessity, with two grandstand finishes in their last two home games.
If you left early, you missed a cracking ending. So serves you right!
It shouldn’t have been that way of course. The ‘Caps were 2-0 up and coasting by the 23rd minute, thanks to a spectacular two goal brace by Marco Bustos. Swope Park had nothing in return and Vancouver were dominant and looking comfortable.
But not for the first time this season, WFC2 came out all guns blazing but lost some intensity after going a couple of goals up. In previous games they’ve been punished. It certainly didn’t look like this would be the same again on Sunday, but Rangers boss Marc Dos Santos made four changes at half time and Swope Park had some life about them.
The ‘Caps quickly regrouped and had chances to add to their tally before substitute Alphonso Davies added a third with ten minutes remaining. That was surely it. Um, well no actually, as the visitors stormed back with a fantastic late comeback.
Mark Anthony Gonzalez scored a 25 yard golazo to give Swope Park what looked to be an 86th minute consolation from out of nowhere, but when Kris Tyrpak got on to a long Tommy Meyer punt forward and added a second two minutes later, the comeback was very much on.
And the visitors nearly got it from a last second Kevin Oliveira free kick, which Marco Carducci brilliantly tipped onto the post and Daniel Haber booted clear with the last kick of the match.
Phew! Late drama galore but a well earned three points for WFC2, who got back to winning ways after back to back losses and move up again to top the Western Conference standings.
AFTN photographer Tom Ewasiuk was there to capture all the action before, during and after the game and here’s his “Story In Pictures”, with a full Flickr slideshow at the end.
[Also check out Tom’s website www.residualimagephotography.com for more of his photos and work].

The teams line up for some USL action

In the 4th minute, Brett Levis finds Marco Bustos in the box after some good build up play

And Bustos fires home from a tight angle to make it 1-0 WFC2

Bustos is in again in the 23rd minute

And shows some nice footwork in the box to fire home his second of the game

Always with an eye for the camera!

And Kyle Greig enjoyed the goal too

Into the second half and the “Caps are controlling the game but Bustos takes a smack to the face for his effort – No card from a very inconsistent referee

Swope Park are still very much in the game though and fire a shot just past Marco Carducci’s post
And Carducci is in the wars moments later, taking a late boot to the face and causing handbags amongst the players

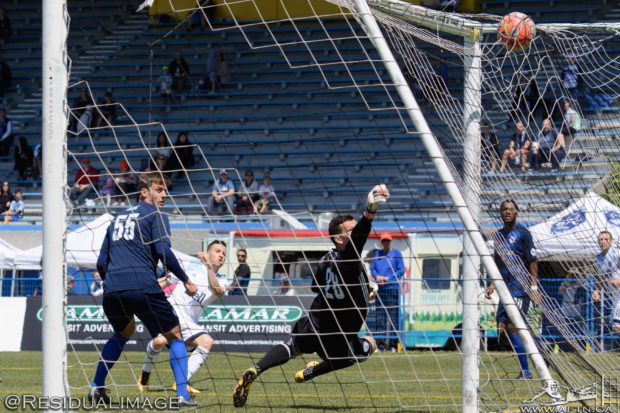
But with ten minutes remaining, substitute Alphonso Davies gets played in

And fires a third Whitecaps goal high into the net

Quite the week for the teenager

With the game seemingly over, Mark Anthony Gonzalez fires home a 25 yard golazo in the 86th minute – surely just a consolation effort

Or maybe not, as two minutes later Kris Tyrpak latches onto a long Tommy Meyer punt forward and fires a second Swope Park goal past Carducci

So from nowhere, game very much now on and a nervy final few minutes is in store for Whitecaps fans

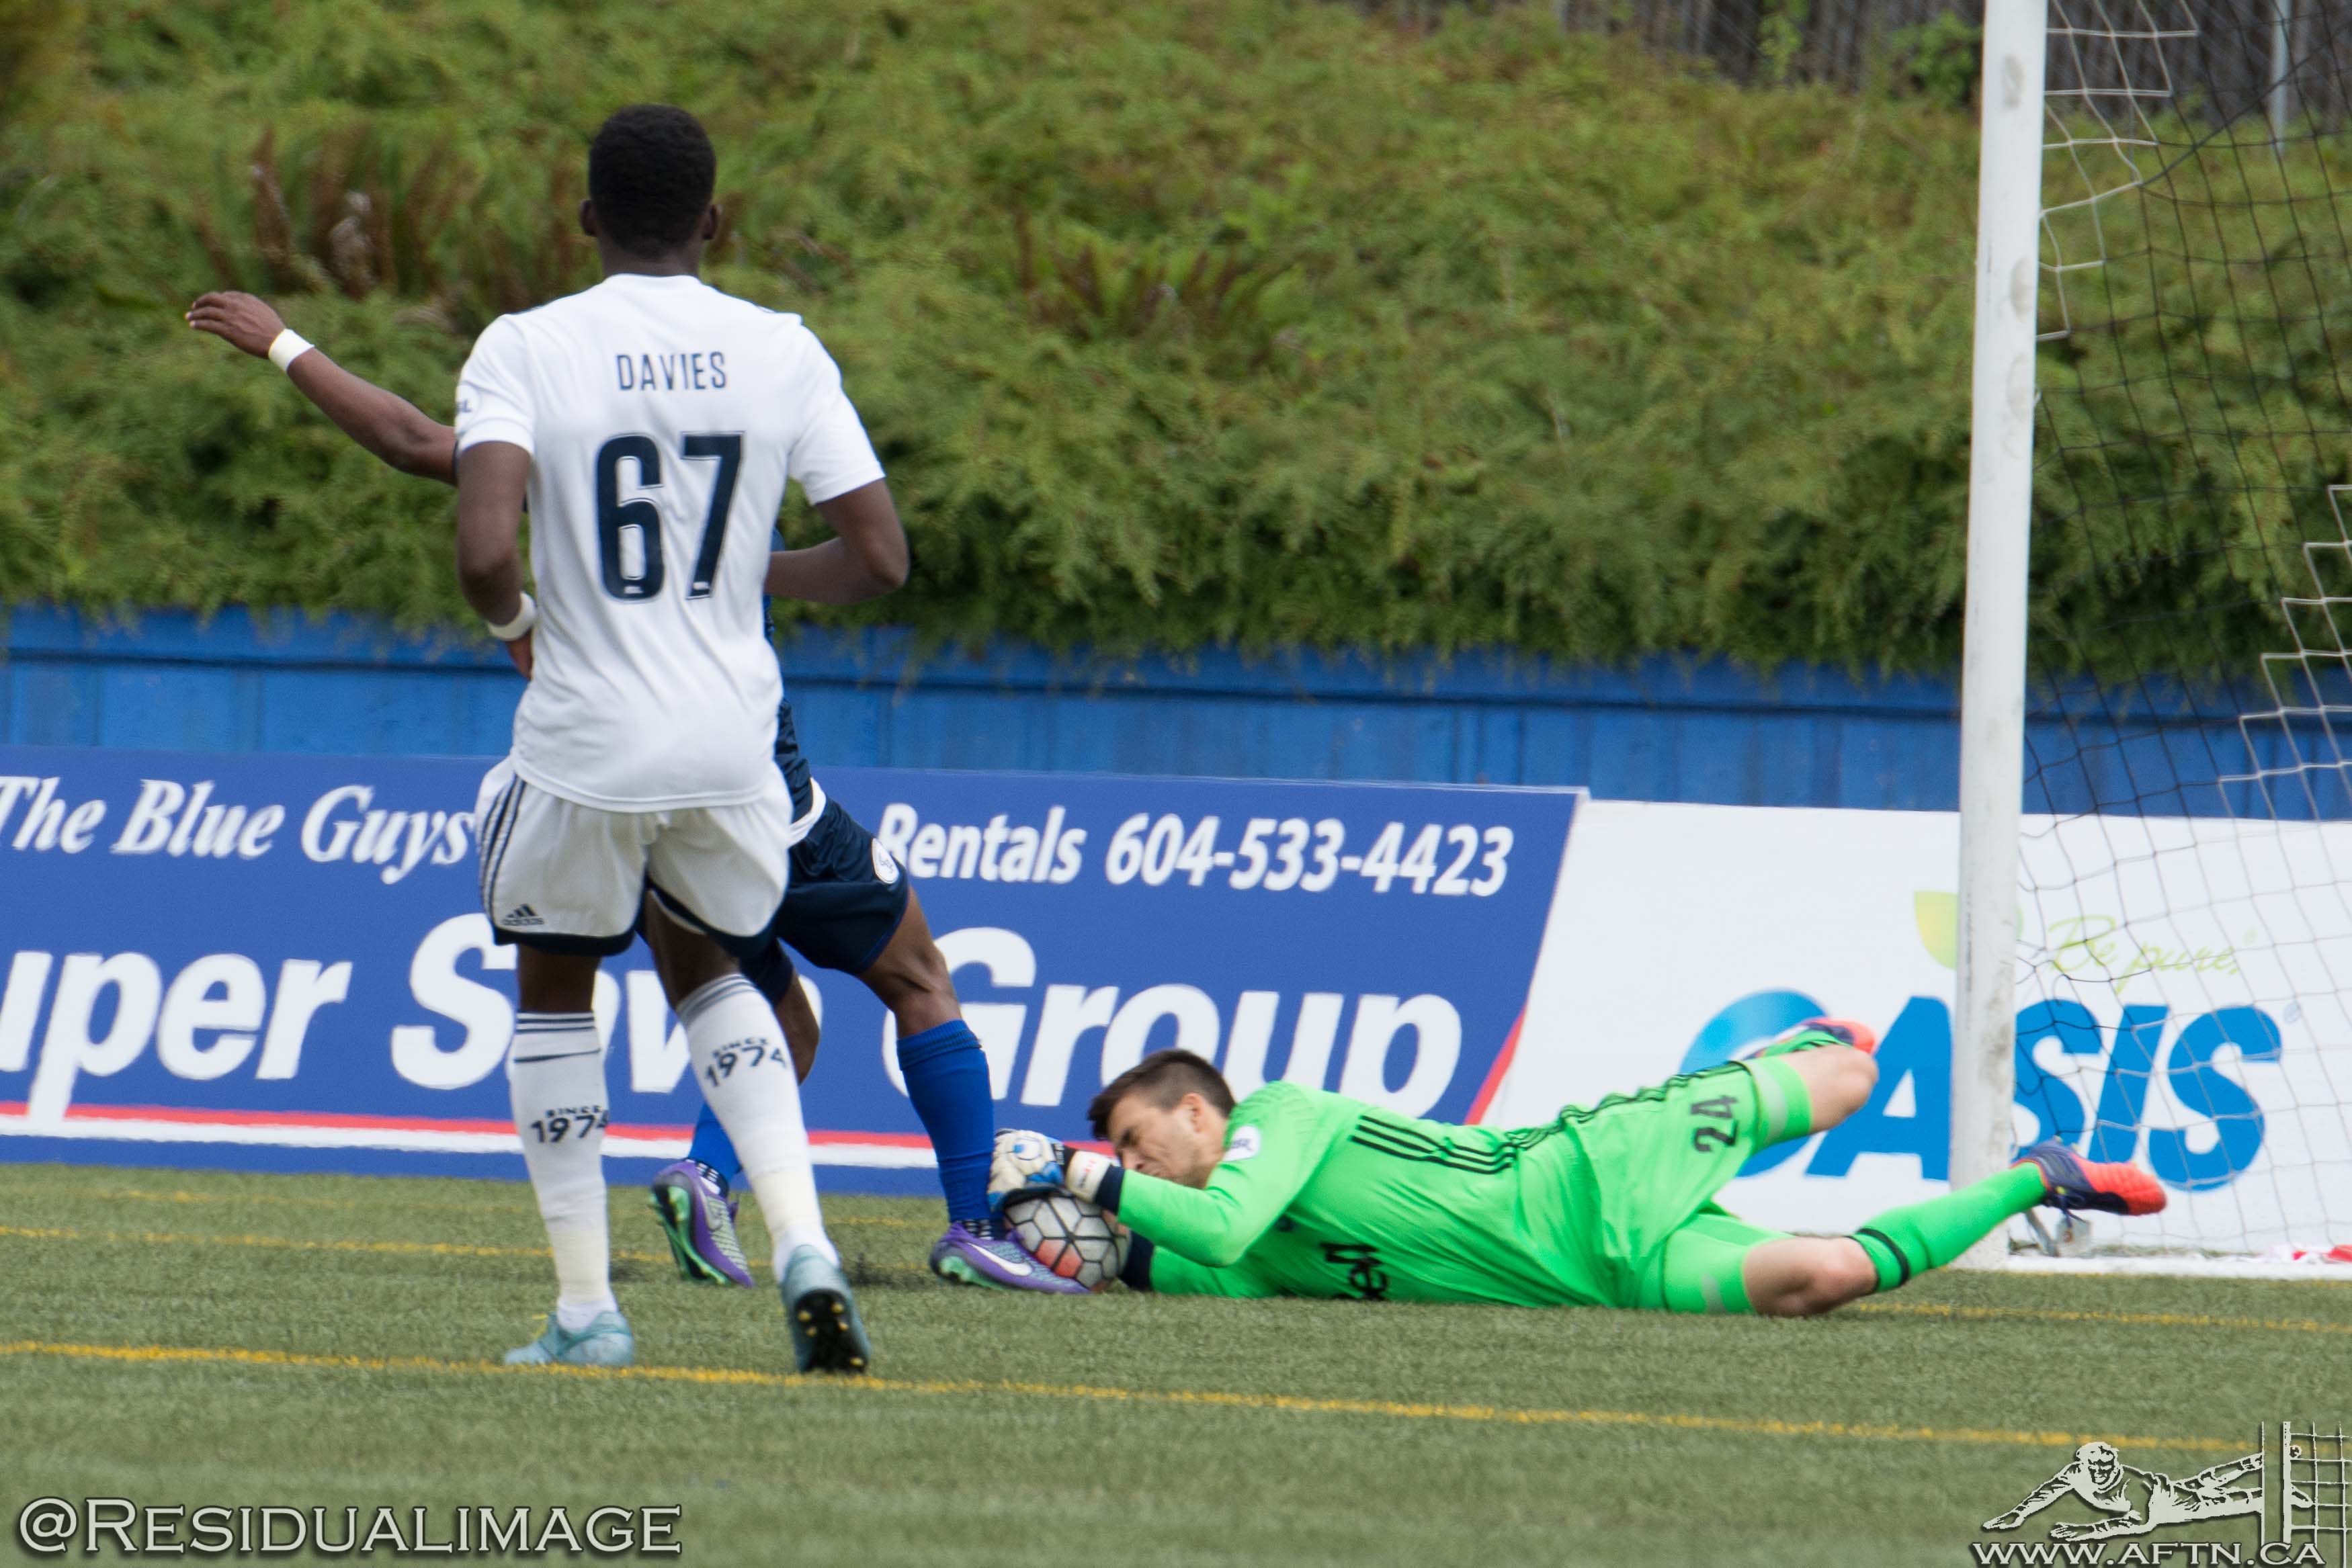
Swope Park have one last chance to tie things up and Kevin Oliveira lets fly with a free kick

Which Carducci brilliantly tips on to the post and Daniel Haber boots the rebound clear to secure all three points for Vancouver
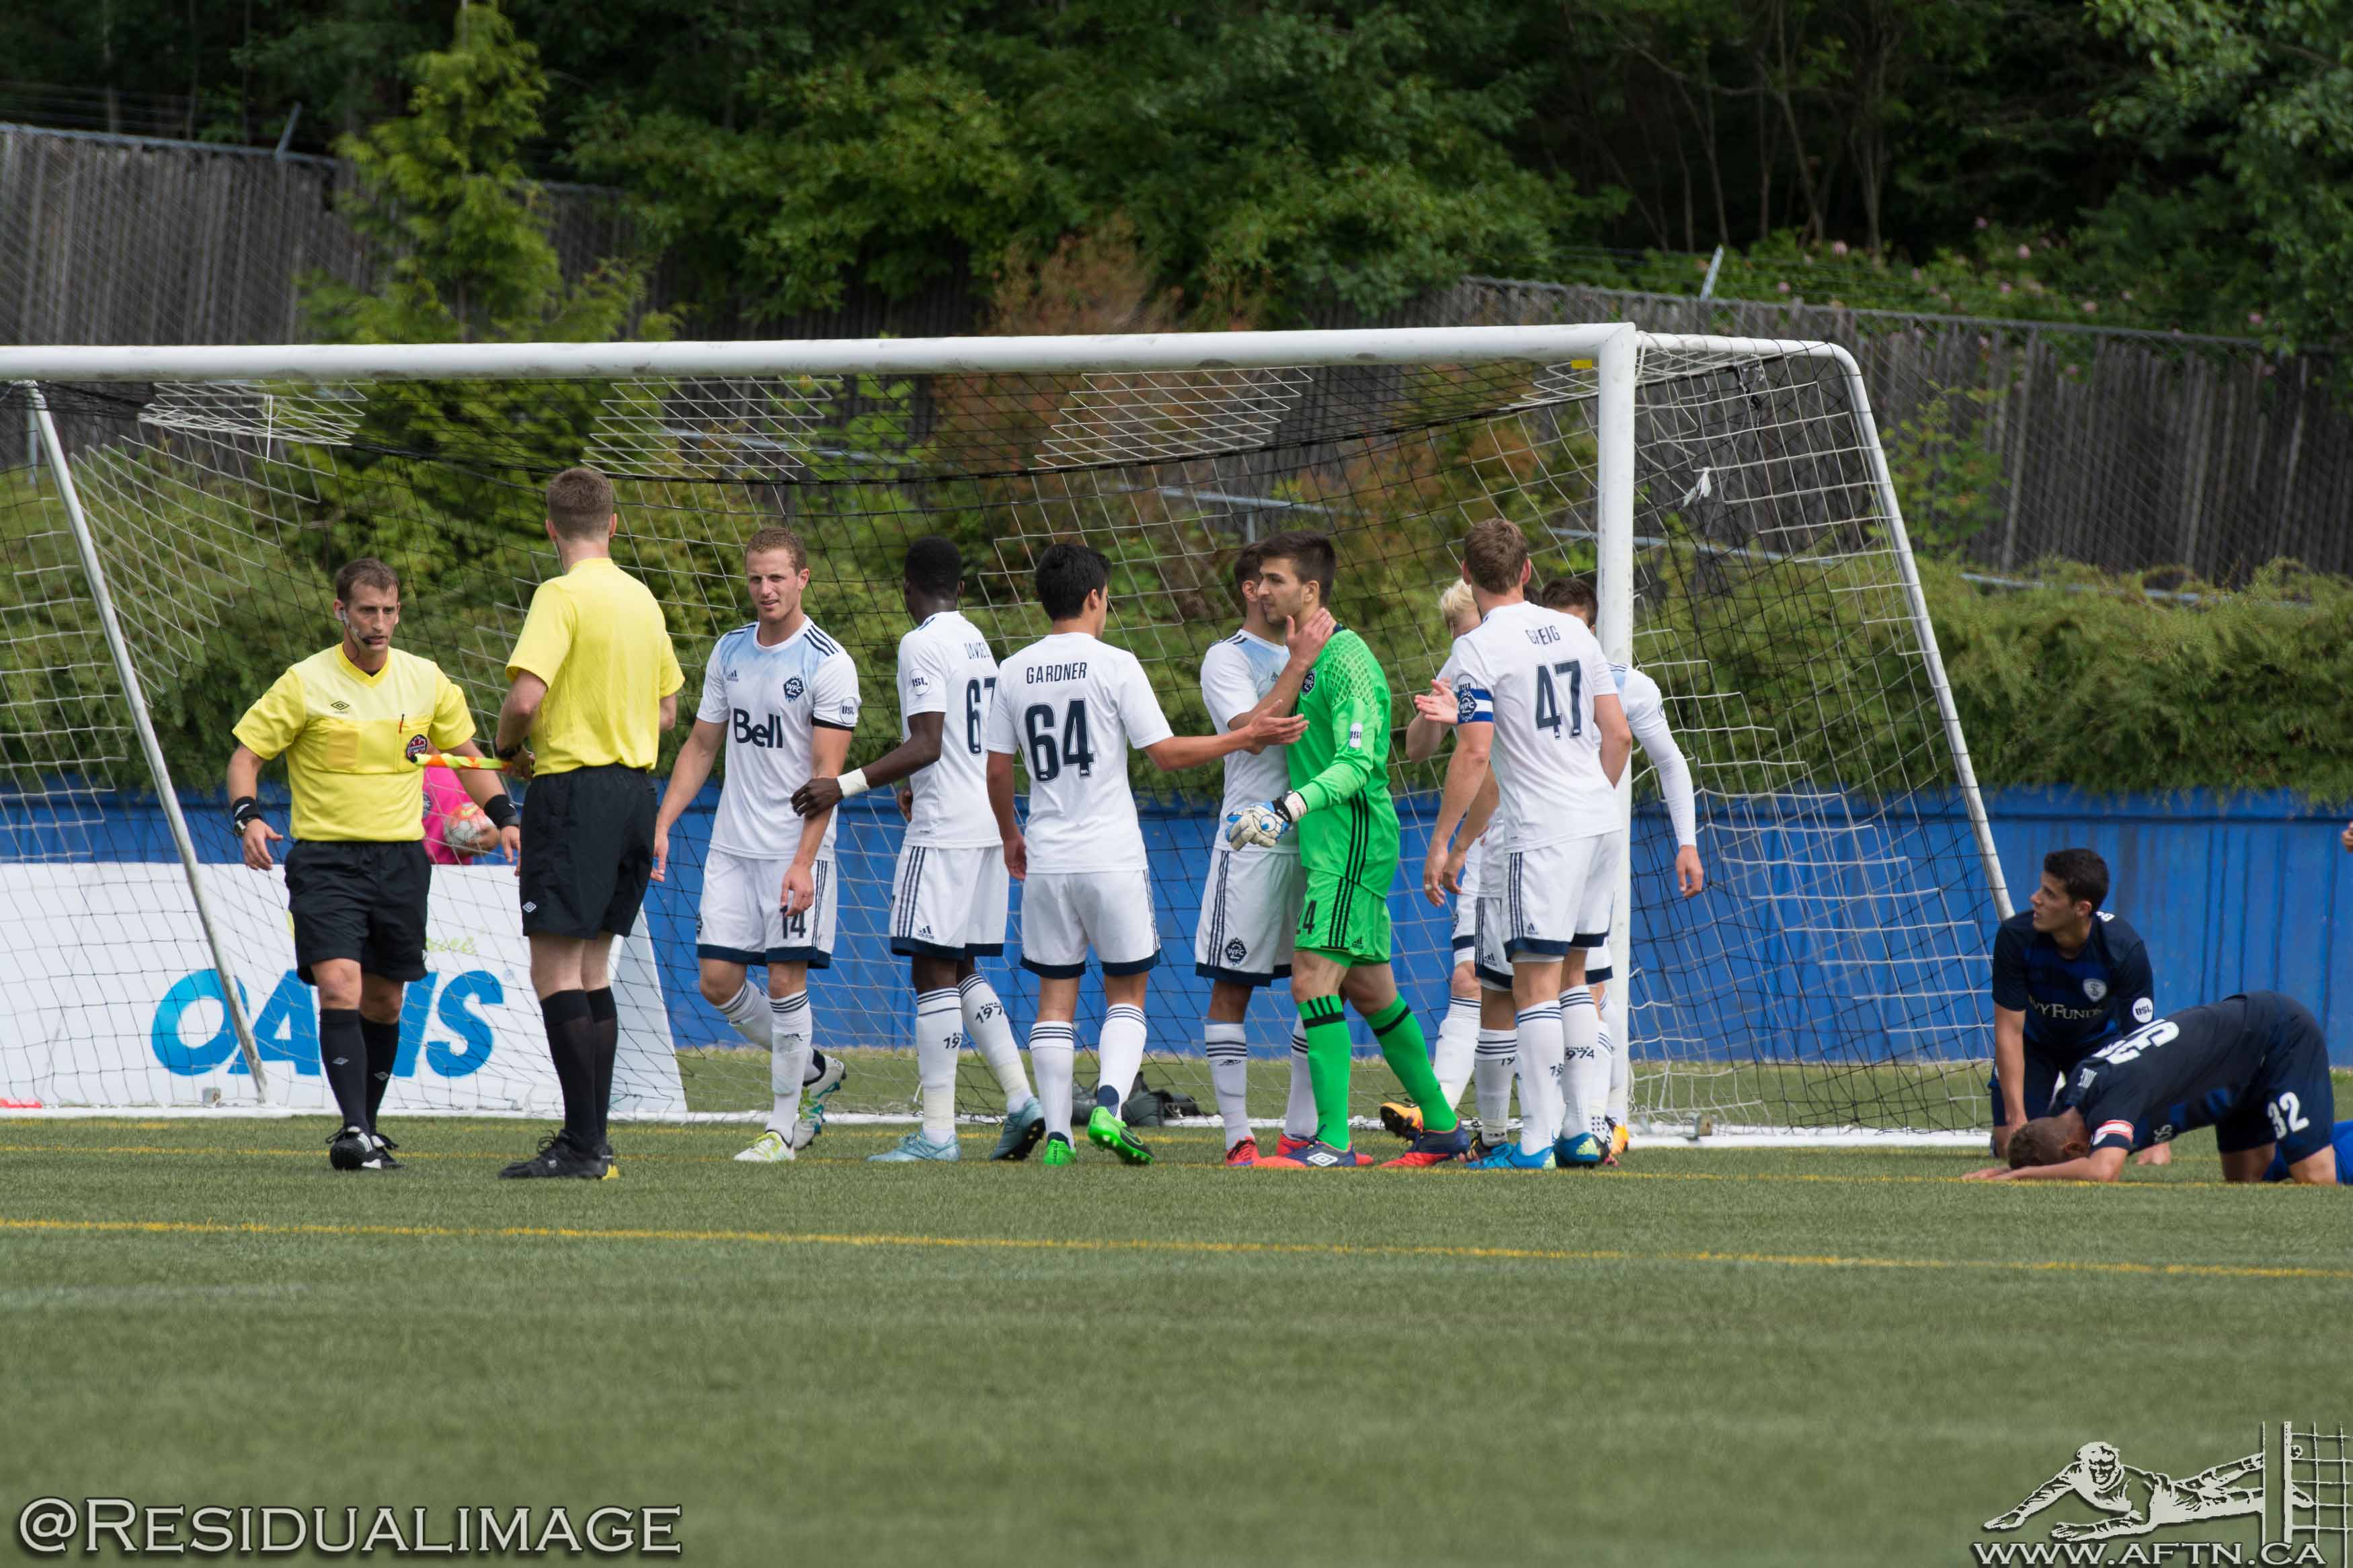
The joy of victory and the agony of defeat
You can see all of Tom’s photos from the game HERE and in our full Flickr slideshow below:
 Previous Article
 Next Article